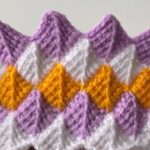
A stunning diamond texture that looks like it took years to master — built on just four repeating rows that beginners can pick up in a single sitting.
The Stitch That Looks Complicated and Absolutely Is Not
The first time I saw the alpine stitch I did what most people do — I assumed it was way beyond my current skill level, saved the image for later, and moved on to something simpler. The diamond pattern running across the fabric, the raised texture, the overall sense that whoever made it clearly knew something I did not — it looked like the kind of stitch you work up to after years of experience.
It is not. It is a four-row repeat. That is the whole secret. Once you have worked through those four rows once and understand what each one is doing, the pattern becomes almost automatic and the diamonds start appearing in front of you like a small crochet miracle.
The only new skill you might need to learn before starting is the front post treble crochet. If you have not worked a post stitch before, spend ten minutes with a practice swatch first. Once that movement is in your hands, everything else in this stitch falls into place naturally.
What You Need
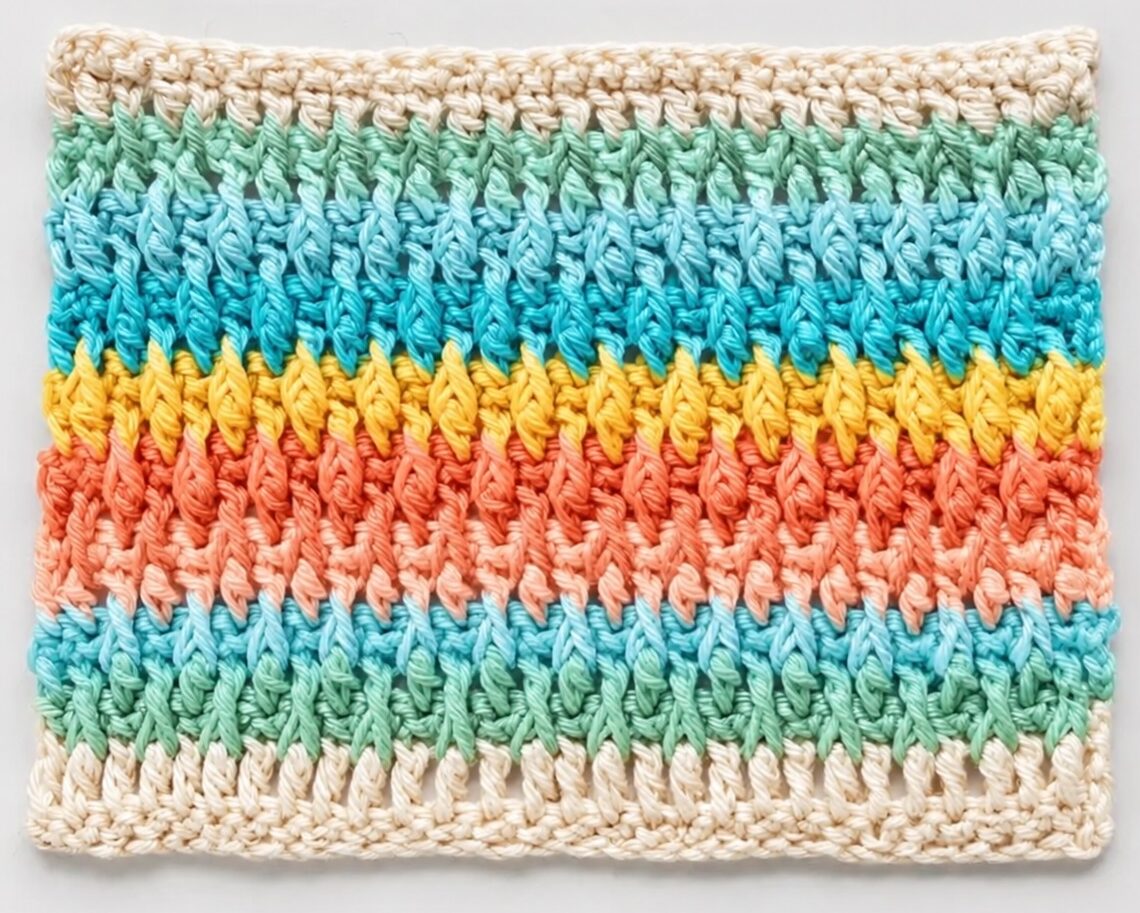
Any yarn weight and a corresponding hook. The alpine stitch works with everything from fine cotton to chunky wool, and the finished fabric looks noticeably different depending on the weight you choose. A lighter yarn produces a delicate, drapey result that works beautifully for shawls and scarves. A heavier yarn creates a dense, structured fabric well suited to blankets and cushions.
One thing worth knowing before you choose your yarn: the alpine stitch uses approximately the same amount of yarn as single crochet. Despite the density and texture of the finished fabric, the stitch is surprisingly efficient. So if you are planning a larger project and wondering whether to budget for extra yarn, the answer is no more than you would need for a plain single crochet version of the same piece.
A Few Things to Know Before You Start
The alpine stitch works on any stitch multiple, but many crocheters prefer the finished look when using an odd number of foundation chain stitches. The diamond pattern aligns more naturally and the repeats sit more evenly across the row.
Turning chains do not count as stitches in this pattern. Do not work into them at the beginning of a row and do not count them when checking your stitch count at the end.
The four-row repeat alternates between double crochet rows, single crochet rows, and the front post treble rows that create the raised diamond texture. Once you recognize what each row is doing and why, the pattern is genuinely simple to follow.
Abbreviations
ch — chain
dc — double crochet
fptr — front post treble crochet
sc — single crochet
st — stitch
cont — continue
What Is the Alpine Stitch Good For?
The finished fabric is dense, textured, and warm — qualities that make it particularly well suited to projects where you want both visual interest and substance. The most popular uses are blankets and throws, cushion covers, shawls, scarves and cowls, and accessories like bags and hats. It also works beautifully as a panel within a larger project if you want a section of texture without committing the entire piece to the stitch.
The Pattern
Begin by creating a foundation chain with an odd number of stitches.
Row 1 (Right Side)
Work 1 dc in the 3rd chain from the hook. Continue working 1 dc in each chain to the end of the row. Turn.
Row 2 (Wrong Side)
Chain 1 — this does not count as a stitch. Work 1 sc in each stitch to the end of the row. Turn.
Row 3
Chain 2 — this does not count as a stitch. Work 1 dc in the first stitch. Then work as follows: 1 fptr around the corresponding dc 2 rows below, 1 dc in the next stitch. Repeat from the asterisk to the end of the row. Turn.
The front post treble is worked around the post of the double crochet two rows below — not into the stitch directly in front of you, but reaching down into the row below that. This is what creates the raised, pulled-forward texture that builds the diamond pattern. Yarn over twice, insert your hook from front to back to front around the post of the indicated stitch below, yarn over and pull up a loop, then complete the treble crochet as normal — yarn over pull through two loops, three times.
Row 4
Repeat Row 2. Chain 1, work 1 sc in each stitch to the end of the row. Turn.
Row 5
Chain 2 — does not count as a stitch. Work 1 fptr around the first dc 2 rows below. Then: 1 dc in the next stitch, 1 fptr around the corresponding dc 2 rows below. Repeat to the end of the row. Turn.
Notice that Row 5 is the offset of Row 3. Where Row 3 begins with a dc before the first fptr, Row 5 begins with the fptr first. This offset between rows is what creates the diagonal movement that builds the diamond shapes across the fabric. The two rows are working against each other in a way that produces the pattern.
Row 6
Repeat Row 2. Chain 1, work 1 sc in each stitch to the end of the row. Turn.
Continuing the Pattern
Repeat Rows 3 through 6 for the full length of your project. Finish on a Row 2 repeat — a plain single crochet row — for the neatest final edge.
Does the Alpine Stitch Use More Yarn Than Other Stitches?
This is one of the most common questions about the alpine stitch, and the answer surprises most people. Given how dense and textured the finished fabric looks, it seems reasonable to assume the stitch must use significantly more yarn than simpler alternatives.
It does not. When swatches of the same finished size are weighed and compared, alpine stitch and single crochet come out at almost exactly the same weight. Which means you get a significantly more interesting, more beautiful, more textured finished product for exactly the same yarn cost as a plain single crochet project.
That is a genuinely good deal.
Tips for Working the Alpine Stitch Successfully
Keep an eye on your stitch count at the end of every row for the first several rows. The front post treble can occasionally pull a stitch out of position if the tension is uneven, and catching a missing or extra stitch immediately is much less frustrating than discovering the problem several rows later.
Work the front post treble at a relaxed tension. Because the stitch reaches down two rows to wrap around a post below, there is a tendency to pull it too tightly in an effort to bring the yarn back up to the current row height. A tight fptr will distort the fabric and make the diamonds look uneven. If your fptr stitches feel strained, try going up half a hook size for those stitches only, or simply consciously loosen your tension as you wrap.
Make a swatch before beginning any larger project. The alpine stitch produces a notably different fabric density depending on the yarn and hook you use, and a small swatch lets you check both the appearance and the measurements before committing to a full blanket or garment.
If the diamond pattern is not appearing clearly after the first full repeat, check that you are working the fptr around the correct stitch two rows below. The most common mistake is working into the row directly below rather than two rows down — which produces a different visual effect and explains why the diamonds are not forming correctly.
Final Thoughts
The alpine stitch is one of those techniques that pays back the small investment of learning it many times over. The four-row repeat is genuinely easy to memorize. The diamonds appear almost immediately once the pattern is established. And the finished fabric is the kind of thing that makes people pick up your project, turn it over in their hands, and ask how you did it.
Tell them it was just four rows. Watch their faces.