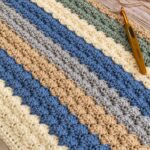
If you have been looking for a stitch that produces genuine texture without a complicated repeat, this is a good one to know.
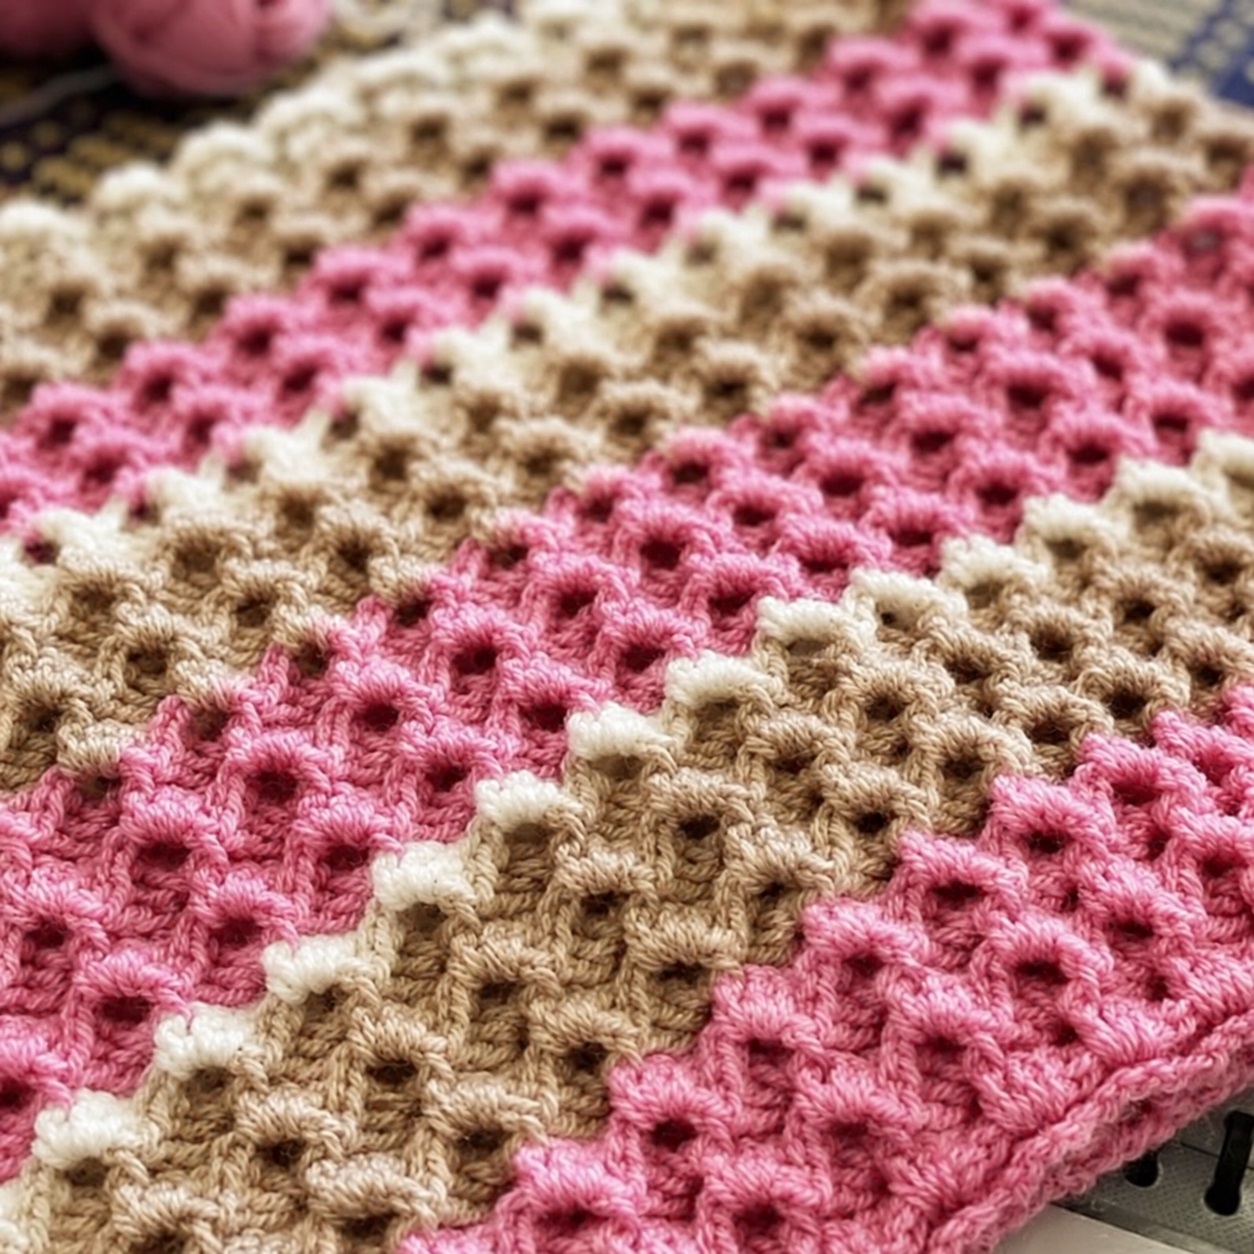
The Crystal Wave Stitch builds a soft, slightly raised wave pattern across the fabric using clusters of double crochets and front post single crochets. The wave effect comes from the way each cluster sits against the post stitch beside it — the combination creates depth and movement that a flat stitch simply cannot replicate. Despite how it looks after several rows, the pattern is a single repeating row worked over and over once the foundation is established.
What You Need
Medium weight worsted yarn — any color works well with this stitch, though solid colors and semi-solids show the wave texture most clearly. A 5.0 mm (H-8) hook, scissors, and a yarn needle for finishing.
Abbreviations
ch — chain
sc — single crochet
dc — double crochet
fpsc — front post single crochet
st — stitch
Front Post Single Crochet: Insert hook from front to back and then back to front around the post of the indicated stitch. Yarn over and pull up a loop. Yarn over and pull through both loops. One fpsc complete.
Foundation Chain
Chain a multiple of 4. Examples: 24, 28, 32, 36, 40. The multiple of 4 keeps the cluster repeat aligning cleanly across every row.
The Pattern
Row 1
Work into the 4th chain from the hook: make 3 dc into that same chain. Skip the next 3 chains. Single crochet into the following chain. Chain 3. Work 3 dc into that same stitch.
Continue across: skip 3 chains, sc into the next chain, ch 3, 3 dc into that same stitch.
End the row with a sc into the final chain. Turn.
Small clusters will be visible across the row — these are the base of the wave pattern.
Row 2
Chain 3 — counts as first dc. Work 2 dc into the same stitch at the base of the chain-3.
Now repeat across: work 1 fpsc around the center dc of the next cluster from the previous row, chain 3, work 3 dc into the chain-3 space from the previous row.
Continue repeating across the row. Finish with 1 sc into the top of the turning chain. Turn.
Row 3 and Beyond
Repeat Row 2 until the piece reaches your desired length. The wave texture becomes more defined with each additional row as the front post stitches build vertical depth against the cluster sections.
Finishing
Fasten off and weave in all ends. The stitch already produces a naturally decorative edge from the cluster construction, so a simple border or no border at all works well here. If you want a cleaner perimeter, one round of sc worked evenly around the finished piece is enough without competing with the main texture.
Notes on Working This Stitch
The fpsc in Row 2 goes around the center dc of the cluster below — not into the top loops of a stitch but around the post itself. Getting that insertion point right is what creates the raised effect. If the waves are not appearing clearly after several rows, check that the fpsc is genuinely wrapping around the post rather than being worked into the top of the stitch.
Keep the chain-3 sections within each cluster at a consistent tension. Tight chains compress the cluster and reduce the wave height. Relaxed, even chains give the clusters enough space to sit properly and produce a more defined wave across the surface.
The pattern is most satisfying after four to six rows when the wave rhythm becomes clearly visible across the full width of the fabric. The first two rows look like simple clusters. By Row 6 the wave movement is unmistakable.