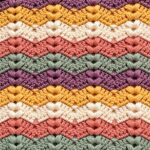
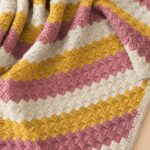
Layered, textured leaves that look like they grew right off the vine — and beginner-friendly enough to finish in a single afternoon.
The Border That Makes Everything Look Finished
There is a certain kind of crochet detail that takes a project from lovely to genuinely impressive. Not the main stitch, not the yarn color, not even the overall design — but the finishing touch. The thing around the edge that makes someone pick up your work, look closely, and say: how did you do that?
This 3D Crochet Leaf Stitch Border is exactly that kind of detail.
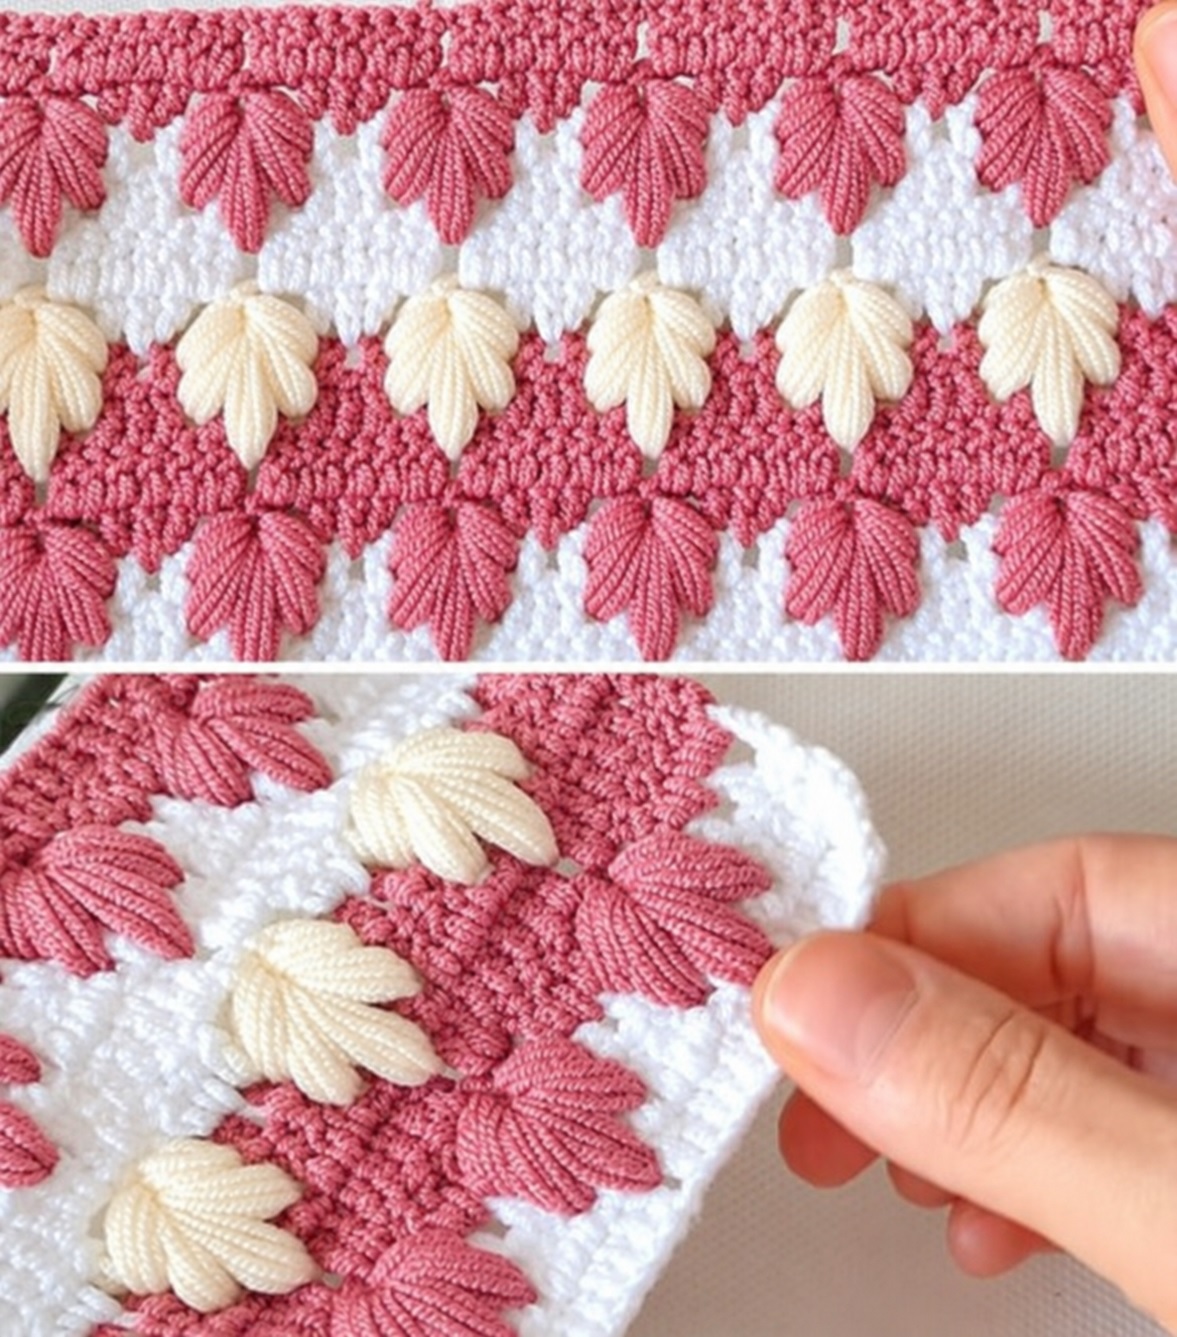
Inspired by natural foliage, the pattern builds layered, dimensional leaves that cascade along the edge of any project in a way that looks far more intricate than the construction actually is. Each leaf is formed from a simple sequence of stitches worked into a chain space — single crochet, half double crochet, double crochet, treble crochet, then back down again — and the result is a raised, realistic leaf shape that sits on the fabric surface with genuine depth.
It works beautifully as a border on baby blankets, shawls, decorative throws, table runners, cushion covers, and curtain trims. Once you understand the leaf construction, you will find yourself looking at every finished project and wondering whether it needs a leaf border.
The answer is usually yes.
Skill Level
Beginner to intermediate. If you are comfortable with single crochet, half double crochet, double crochet, and treble crochet, you have everything you need to work this pattern. The leaf stitch itself is simply those four stitches worked in a specific sequence into a chain space — nothing more technically demanding than that.
Materials
Worsted weight yarn (#4) or cotton yarn in your chosen colors. The classic combination for this border is green for the leaves and white for the base, which gives the finished piece a clean, botanical illustration quality. Cotton yarn is particularly well suited to this pattern because its firmer structure gives the leaf shapes more definition and helps them hold their raised, dimensional appearance.
You will need a 3.5 mm to 4.5 mm crochet hook depending on your yarn weight and personal tension, scissors, a yarn needle for weaving ends, and stitch markers if you find them helpful for tracking row positions.
Color suggestions:
For a classic botanical look, green leaves on a white base. For something softer and more nursery-friendly, sage green on ivory or cream. For a more contemporary version, olive on natural linen-toned yarn. For home decor, dusty sage on warm oatmeal creates a beautiful earthy result that works in almost any room.
Abbreviations
CH — chain
SC — single crochet
HDC — half double crochet
DC — double crochet
TR — treble crochet
SL ST — slip stitch
ST — stitch
SP — space
SK — skip
The Pattern
Step 1 — The Foundation Row
Begin with your base color — white in the classic version.
Chain any multiple of 10 plus 2.
Row 1: Work 1 SC in the second chain from the hook and in each stitch across. Turn and chain 1.
This foundation row provides a firm, even base for the leaf design. Take care to keep your tension consistent across this row — a foundation row worked at uneven tension will affect the spacing of the leaf spaces in the next row and make the finished leaves look irregular.
Step 2 — Creating the Leaf Spaces
Row 2: SC in the first stitch. Chain 5, skip 4 stitches, SC in the next stitch. Repeat across the row. Turn.
These chain-5 spaces are the foundation for every leaf in the border. Each space will hold one complete leaf in the next step, so the number of chain spaces you create in this row determines how many leaves appear in your finished border.
Count your chain spaces at the end of this row before moving on. It is much easier to correct a missed space here than after the leaves are worked.
Step 3 — Working the 3D Leaves
Switch to your leaf color — green in the classic version.
Into each chain-5 space, work the following sequence: SC, HDC, DC, TR, DC, HDC, SC.
All seven stitches go into the same chain-5 space. The sequence moves from shorter stitches at the base of the leaf up to the tallest stitch at the center, then back down to shorter stitches at the tip — mimicking the natural shape of a leaf with a rounded center and tapered ends. The treble crochet at the center is what gives each leaf its raised, dimensional quality.
After completing the stitch sequence in each chain space, slip stitch into the next SC to anchor the leaf and move to the next space. Repeat across the row until every chain space holds a completed leaf.
Step back and look at the row before moving on. Each leaf should be sitting on top of the base fabric with a clearly raised profile. If the leaves look flat, check that you are pulling the treble crochet up to its full height and not compressing the stitches in the chain space.
Step 4 — Adding Layered Leaves
The layered effect that gives this border its lush, cascading appearance comes from working a second row of chain spaces above the first layer and offsetting the leaf placement so the new leaves fall between the leaves of the row below.
Work another row of chain-5 spaces, positioning each new space between the leaves of the previous row. Then work the leaf stitch sequence into each new chain space exactly as before.
Continue alternating chain space rows and leaf rows until the border reaches your desired depth. Two layers of leaves creates a delicate trim. Three or four layers creates a deeply textured, vine-like border that makes a dramatic statement on a blanket edge or shawl hem.
Step 5 — The Final Border Round
Switch back to your base color.
Work one row of SC evenly across the top of the border, placing stitches consistently to keep the edge straight and even. Fasten off. Weave in all remaining ends securely, running each tail through several stitches in two directions before trimming.
Your leaf border is complete.
Tips for Working This Pattern Successfully
Keep your tension consistent throughout the leaf stitch sequence. The seven stitches in each leaf all share one chain space, and uneven tension produces leaves that look lumpy or lopsided rather than smoothly shaped.
Practice the leaf stitch on a small swatch before attaching the border to a finished project. A swatch of three or four leaves worked over fifteen to twenty minutes will make the stitch feel completely familiar before you commit to a full border.
Count your stitches at the end of every foundation and chain space row. The leaf pattern depends on consistent spacing, and catching a miscounted space immediately is much easier than unraveling a completed row of leaves.
Block the finished border to enhance the leaf shapes and help the dimensional stitches sit at their best angle. For cotton yarn, wet blocking gives the most defined result. For acrylic, a gentle steam block works well. Either method makes a noticeable difference to how clearly the leaves read on the finished piece.
Use cotton yarn if you want the sharpest possible stitch definition. Cotton’s firmer structure holds the leaf shape better than softer fibers and gives the finished border a crisper, more botanical quality.
Project Ideas
For baby items: This border works beautifully on baby blankets in white and sage green, nursery decor in pastel tones, decorative shawls, and crib covers with a nature-inspired theme. Gender-neutral colorways like ivory and olive or cream and dusty sage work particularly well for baby gifts where you want something timeless rather than specifically pink or blue.
For home decor: Table runners with a leaf border along each short end make a striking seasonal decoration. Cushion covers with leaf trim around the edges bring a botanical quality to a living room or bedroom. Curtain trims, wall hangings, and decorative panels all benefit from this border in ways that look intentional and carefully designed.
For wearables: Shawls and wraps finished with a leaf border have a romantic, nature-inspired quality that works in almost any colorway. The border also works well along the hem or cuffs of cardigans and jackets worked in a coordinating or contrasting yarn.
Final Thoughts
The 3D Crochet Leaf Stitch Border is one of those patterns that earns a permanent place in a crocheter’s collection not because it is complicated but because it is useful. It makes baby blankets look boutique. It makes shawls look designed. It makes simple home decor pieces look like something you spent a great deal of time thinking about.
The leaf stitch itself takes fifteen minutes to learn and a lifetime to find new uses for.
Start with a small swatch. Get the leaf sequence into your hands. And then look at every project you have ever made and decide which one needs a border.