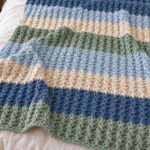
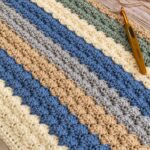
The first thing most people say when they see the Tilted Block Stitch is some version of: that looks complicated. It is not. What looks like a detailed, layered texture is actually a four-row pattern built around one special stitch — and once that stitch makes sense, the whole design follows naturally.
Here is what the stitch does and how to work it from start to finish.
The Special Stitch First
Everything in this pattern depends on understanding the Tilted Block before the rows begin. Work it correctly once and the rest of the pattern is simply repetition.
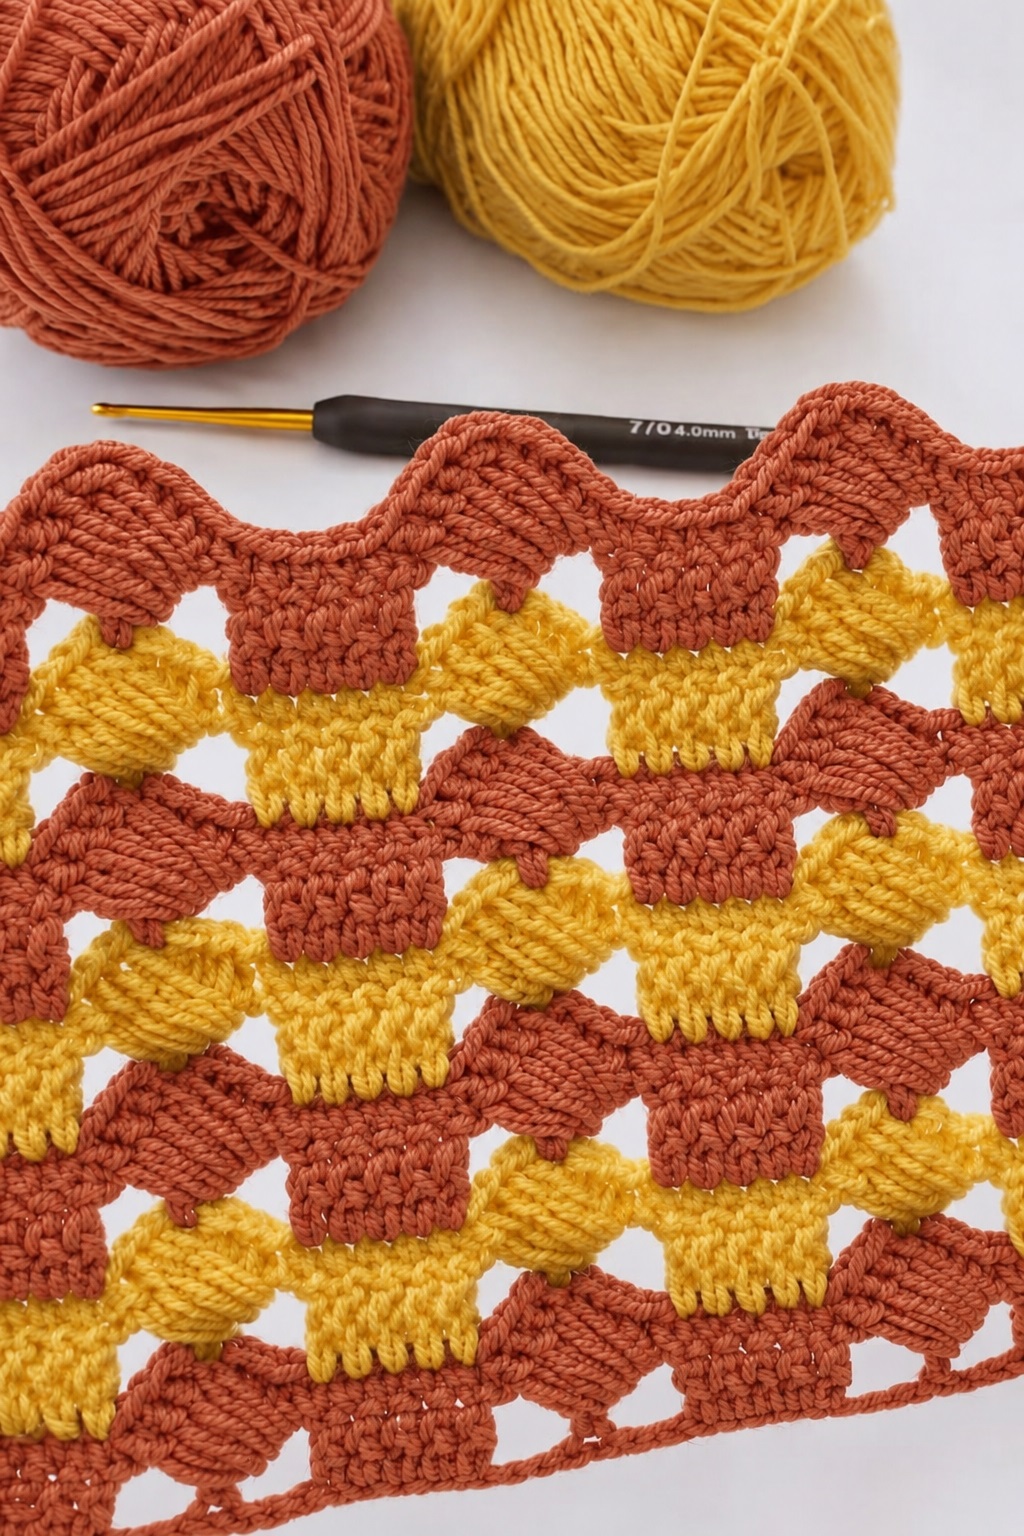
To make a Tilted Block:
Work 1 treble crochet into the indicated stitch. Chain 3. Now look at the long vertical post of the treble crochet you just made and work 3 double crochets directly around that post — not into the top of a stitch, but around the vertical column of the treble.
Those three double crochets gather around the treble and cause the whole group to sit at a slight angle. That angle is where the stitch gets its name and its character.
Practice two or three of these blocks on a spare length of yarn before starting Row 1. The movement of wrapping around a post rather than working into the top loops feels different at first, and a few practice repetitions will make the actual rows much easier.
What You Need
Any yarn weight paired with its recommended hook size. A smooth yarn in a solid color will show the tilted blocks most clearly — the angled texture and the small open spaces between the block sections read better without the distraction of color variation. That said, a gently variegated yarn creates a softer, more organic result that works beautifully for wraps and shawls.
Scissors and a yarn needle for finishing. Stitch markers are optional but helpful during the first few rows while the pattern is still becoming familiar.
Abbreviations
ch — chain
sc — single crochet
dc — double crochet
tr — treble crochet
st/sts — stitch/stitches
Starting Chain
Chain 28 for a practice swatch. For a wider or narrower piece, use a multiple of 8 plus 4 additional chains.
Keep the foundation chain relaxed. A tight chain pulls the bottom edge inward and makes the first row unnecessarily difficult to work into.
The Pattern
Row 1
Beginning in the second chain from the hook, work 1 sc in each chain across. Turn. You now have a single crochet foundation that supports the textured rows above it.
Row 2
Chain 3 — counts as first dc. Work 1 dc in each of the next 2 stitches.
Now repeat the following sequence across the row: skip 2 stitches, work 1 Tilted Block in the next stitch (1 tr, ch 3, 3 dc around the post of that tr), skip the next 2 stitches, work 1 dc in each of the next 3 stitches.
Continue repeating across. Turn.
The textured blocks will begin appearing between the groups of double crochets. The open spaces on either side of each block are intentional — they are part of the design and will be used in the following row.
Row 3
Chain 3 — counts as first dc. Work 1 dc in each of the next 2 dc.
Now repeat across: chain 2, work 1 sc into the chain-3 section at the top of the next Tilted Block, chain 2, work 1 dc in each of the next 3 dc.
Continue repeating across. Turn.
This row does not add new blocks. It bridges across the previous blocks with chain spaces and prepares the surface for the next block row. The chain-2 spaces on either side of each sc will become the position of the next set of Tilted Blocks.
Row 4
Chain 3 — counts as first dc. Work 1 dc in each of the next 2 dc.
Now repeat across: work 1 Tilted Block in the next sc (1 tr, ch 3, 3 dc around the post of that tr), work 1 dc in each of the next 3 dc.
Continue repeating across. Turn.
After this row the diagonal alignment of the blocks becomes clearly visible. Each new set of blocks sits slightly offset from the previous set, creating the repeating tilted texture that runs through the finished fabric.
Continuing
From Row 4 onward, simply alternate Row 3 and Row 4 until the piece reaches your desired length. That two-row alternation is the entire pattern repeat — there is nothing else to track.
For a neater upper edge, finish after completing a Row 3.
Optional Finishing Row
Chain 1. Work single crochet evenly across the top edge, placing 1 sc into each dc, sc, and chain space as you come to it. Fasten off and weave in ends.
Keeping the Blocks Even
The most common inconsistency in this stitch comes from the chain-3 sections within each Tilted Block. If some are pulled tight and others left loose, the blocks will look different sizes across the row. Work each chain-3 at the same relaxed tension and the blocks will line up much more evenly.
During the first two complete repeats, stop at the end of every row and check that your groups of 3 dc are still lining up correctly above the previous blocks. Catching a misplaced block in Row 4 is straightforward. Catching it in Row 12 is not.
The blocks also tend to look slightly uneven in the first few rows — this is normal. The repeating structure becomes much clearer after four to six rows as the diagonal alignment starts to appear across the full width of the fabric.
What This Stitch Works Well For
The balance between the solid double crochet sections and the open spaces around each block gives this stitch a quality that works across a wide range of projects. It is textured enough to be interesting but open enough to avoid feeling too heavy — which makes it particularly well suited to baby blankets, full-size afghans, wraps, scarves, and decorative cushion covers.
It is also a good stitch for stash yarn. Because the design has natural visual interest built into the construction, even a basic medium-weight yarn looks purposeful and considered in the finished piece.